All QBC systems require the proper technique of sample collection. In order to help eliminate error, this video will go over in detail the proper technique for a finger stick.
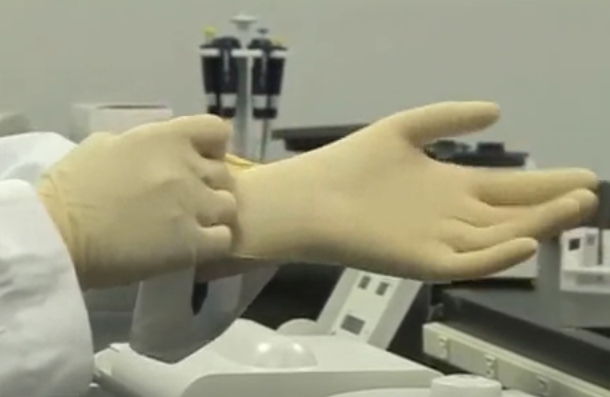
Before collecting the sample, prepare by washing your own hands first and putting on disposable gloves.
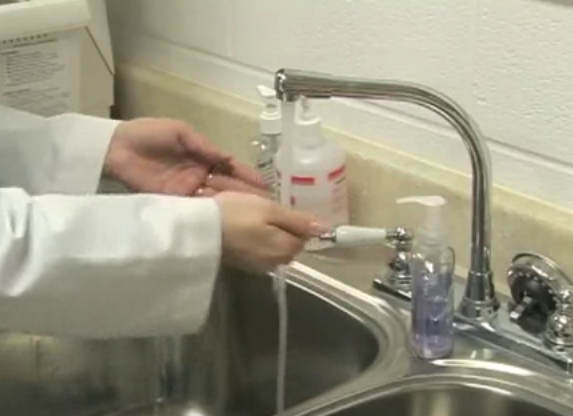
The first step in preparing the patient is to have them wash their hands in warm water. If it is a young child, you can use a warm washcloth to wrap around the fingers to help promote circulation.


Choosing a finger is important, we suggest using the third or fourth ring finger on either hand preferably the non-dominant hand. Assess the skin for toughness, scars, calluses, edema or signs of bruising from overuse such as in a diabetic patient.
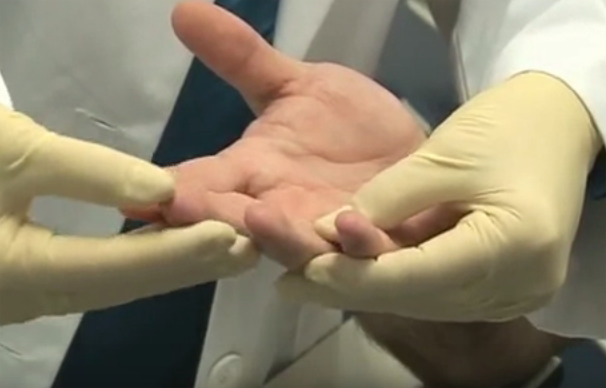
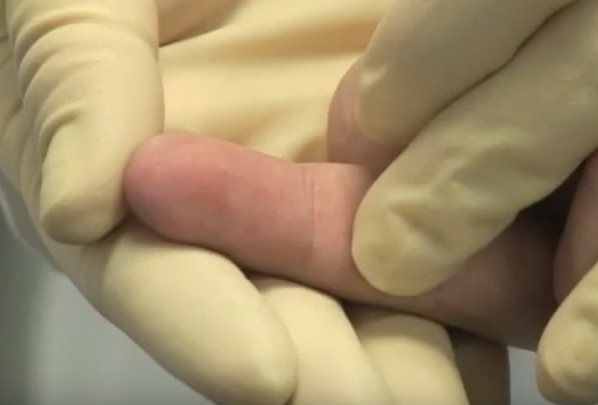
Choose a puncture site halfway between the center of the finger pad and the outer edge of the finger. For infants less than one year old, punctures may be performed on the lateral or medial plantar surface of the heel.
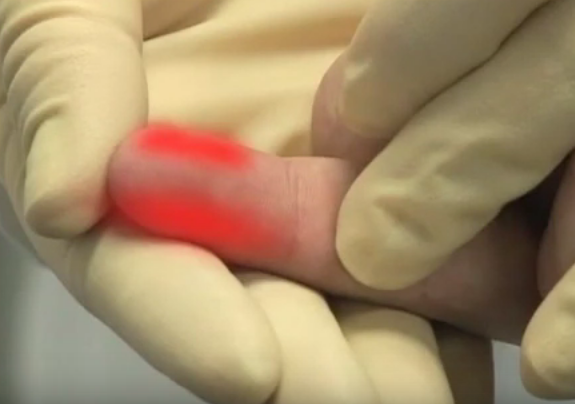
Once you have selected the finger, clean the area thoroughly with an alcohol pad. Allow the area to dry completely by wiping with gauze or allowing to air dry this prevents hemolysis.
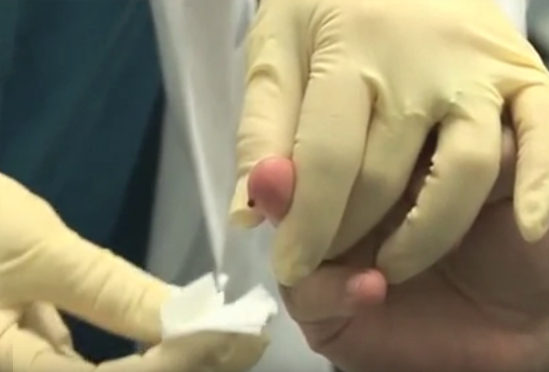
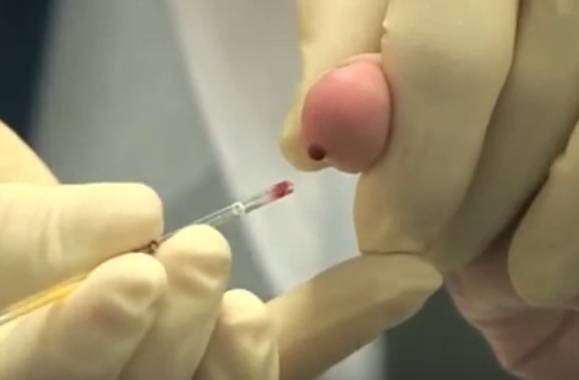
Place yourself in a comfortable position to draw the blood. Puncture the finger with a sterile blade type Lancet.
Wipe away the initial drop of blood this avoids diluting the specimen with excess tissue fluid, which can cause sample errors on your QBC instrument.
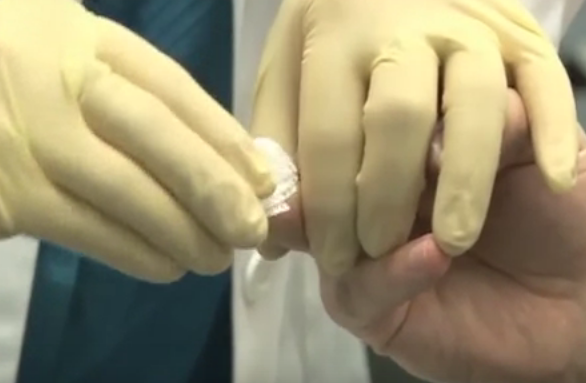
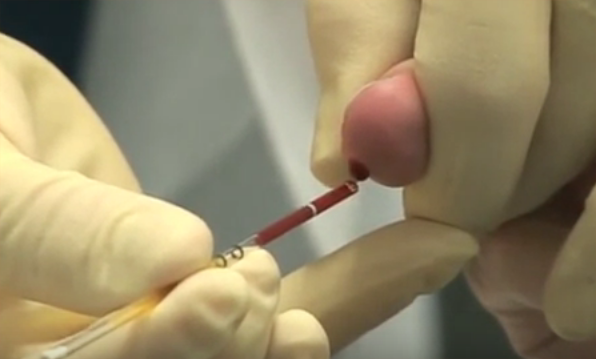
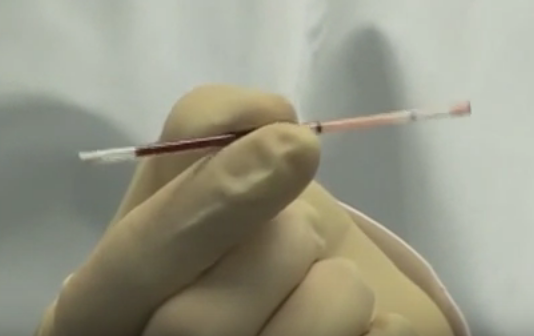
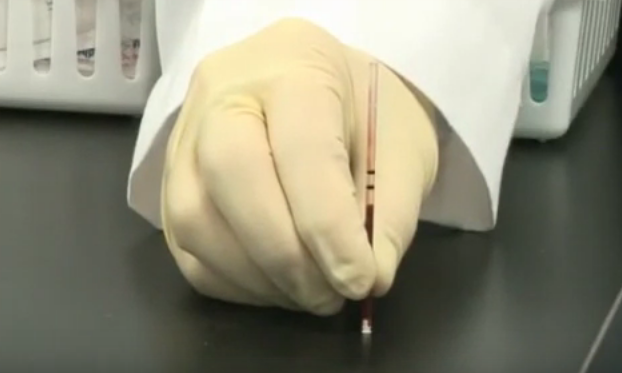
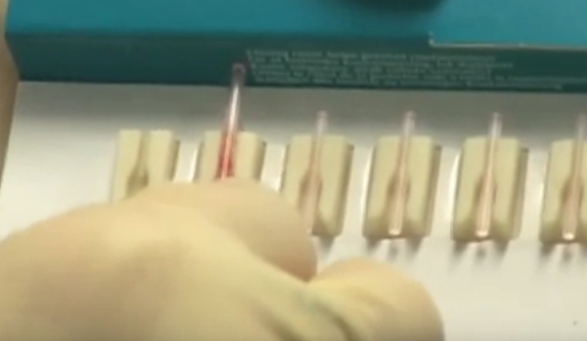
Hold the AccuTube in an upward angle as shown, to prevent introducing air bubbles in the tube. Do not scrape the collection tube against the skin of the finger. Collect only a free-flowing drop of blood. Slight pressure can be applied some distance from the finger puncture in a downward motion. Use gravity to assist you in the collection of the specimen, the less squeezing of the tissue the less chance for collection error.
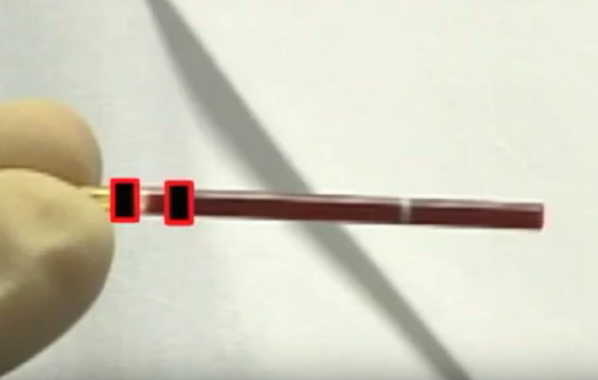
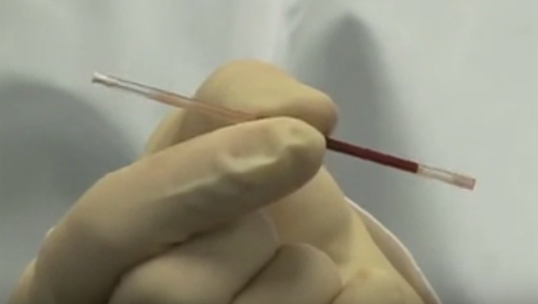
Fill the AccuTube so that the blood level is between the two black fill lines.
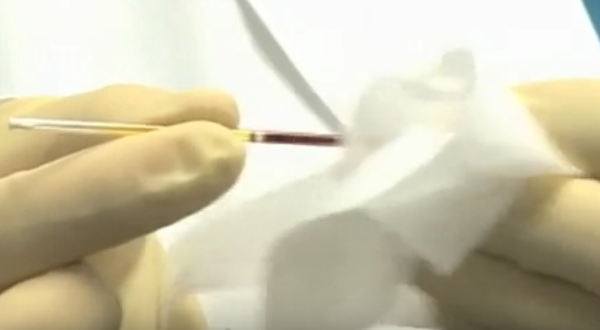
Wipe the outside of the AccuTube with a lint-free tissue.
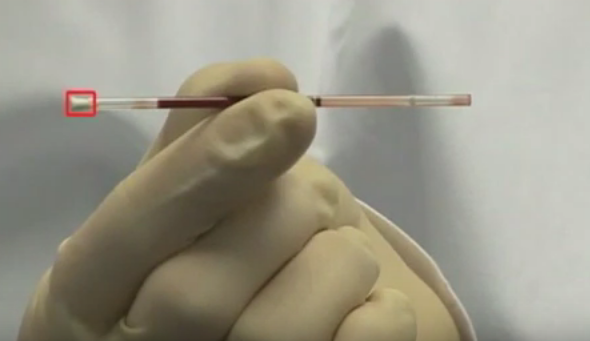
Gently tilt the tube downward until the blood reaches the end of the orange coating. Rock as shown, back-and-forth at least five times. Move the blood end-to-end to ensure sufficient mixing of the blood with the orange dye.
Avoid letting the blood touch the white stopper during mixing.
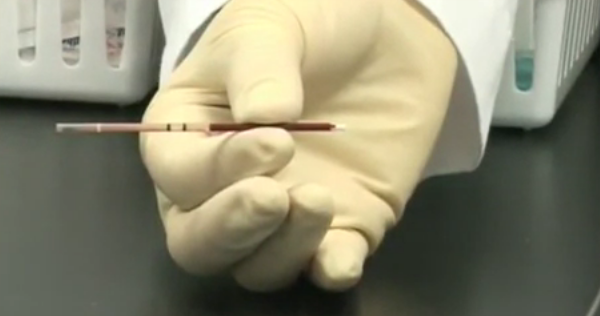
Hold the AccuTube near the stopper end. Seat the stopper by pressing down firmly on a hard surface, at this point the blood can touch the stopper.
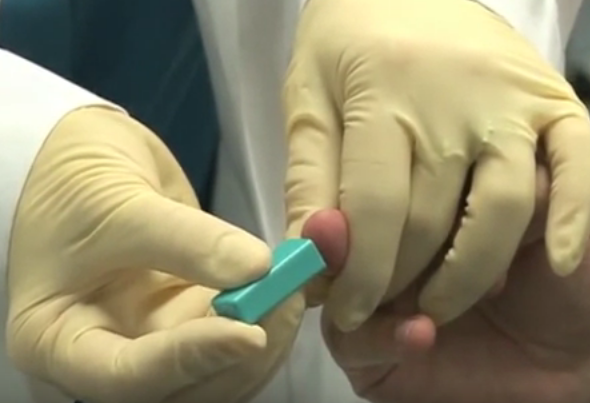
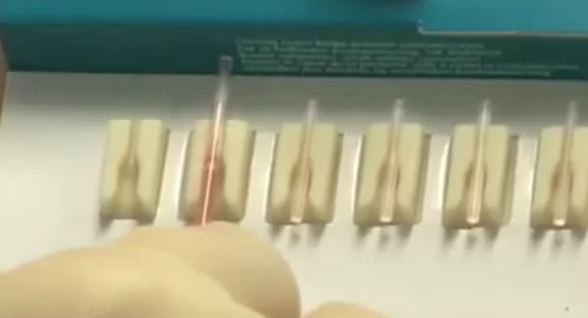
Insert the float by sliding the open end of the AccuTube onto the float until the float is partially inserted.
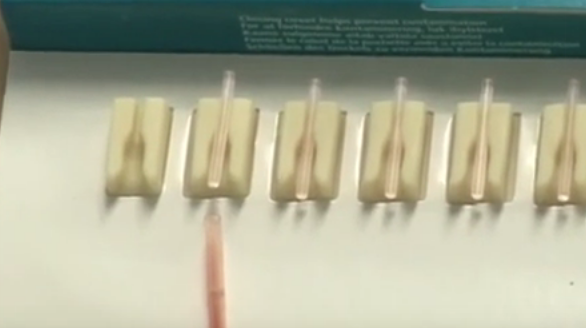
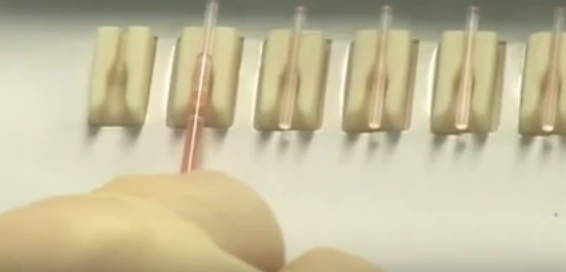
Gently lift the AccuTube with the float partially inserted up and out of the soft grip. Push the float against the back of the package to fully insert. Avoid touching the float with your fingers.
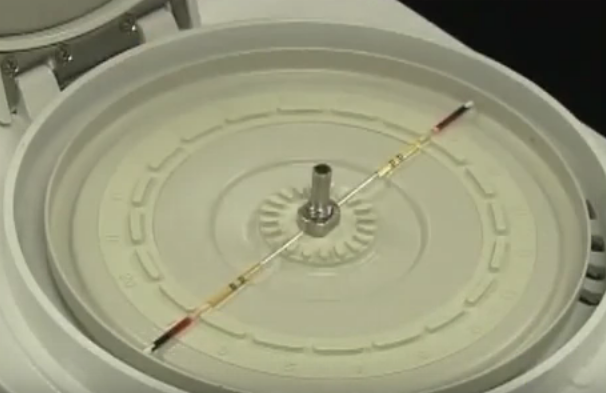
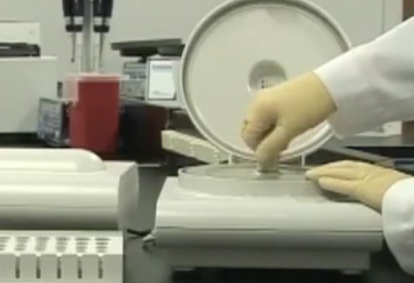
Once the blood is loaded into the tube it needs to be centrifuged within 15 minutes.
Watch the full video version below:
Check out these links below to shop for the Drucker Diagnostics QBC AutoRead Plus and its accessories on Block Scientific Store: